
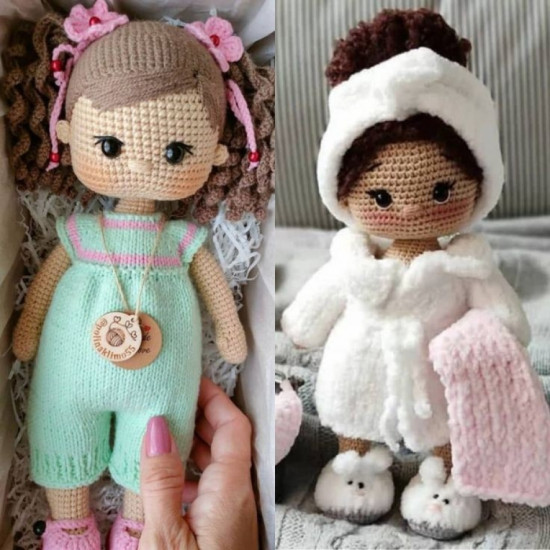
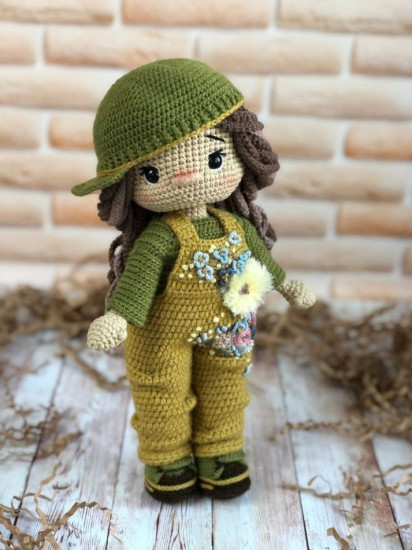
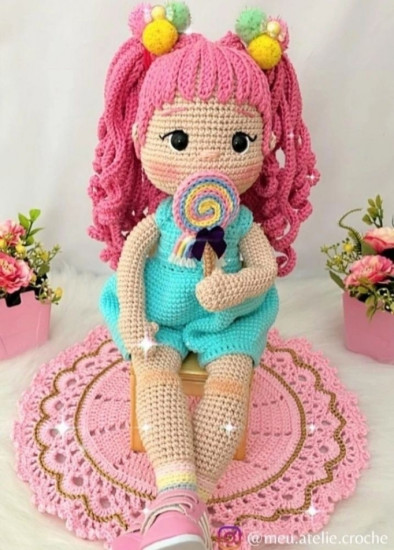
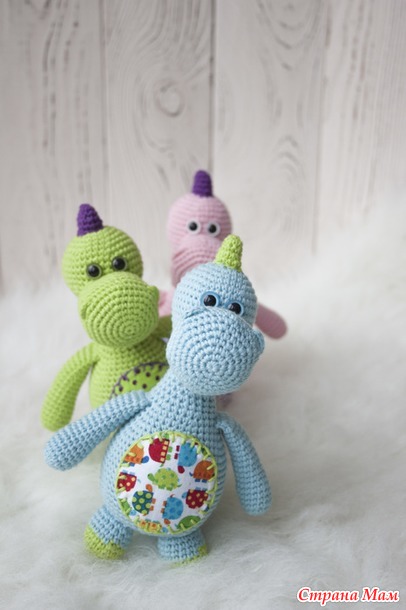
 Hello amigurumi lovers and beautiful visitors, I wanted to share the free amigurumi patterns for you here. In my article I will share 1 pattern and how to make it for you. At the end of my article, I will share amigurumi patterns that can generate ideas for you.
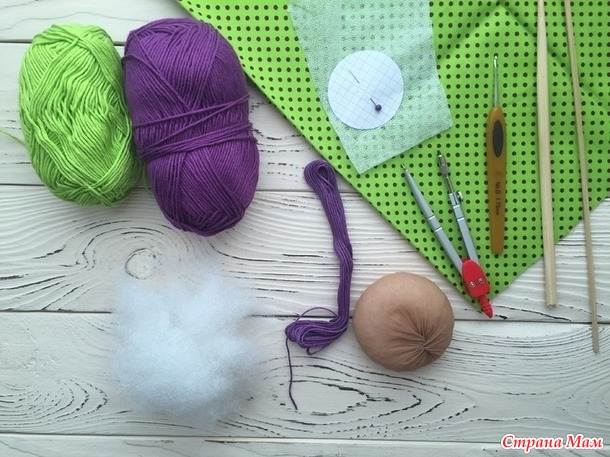
Necessary materials:
Yarn Himalaya Dolphin Baby two colors
4.5 mm hook
Black yarn YarnArt Jeans for nose embroidery
Eyes 12 mm on secure mount
Needle and scissors
Hollofiber
Symbols:
CA — amigurumi ring
vp — air loop
Satn — table without cape
pr — increase
ub — decrease
( … ) x6 — repeat actions in parentheses 6 times
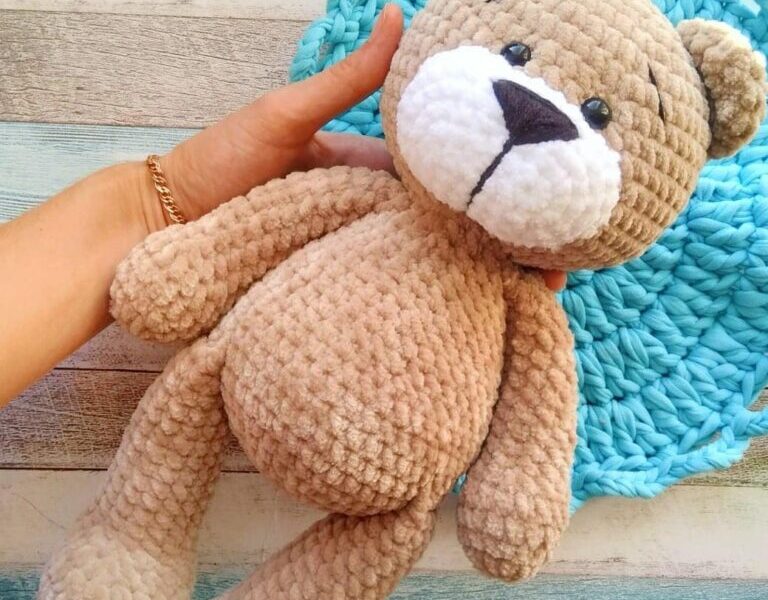
Head
1: 6 Sat in KA ( 6 )
2: ( pr ) x6 ( 12 )
3: ( 1 Sat, pr ) x6 ( 18 )
4: ( 2 Sat, pr ) x6 ( 24 )
5: ( 3 Sat, pr ) x6 ( 30 )
6: ( 4 Sat, pr ) x6 ( 36 )
7: ( 5 Sat, pr ) x6 ( 42 )
8: ( 6 Sat, pr ) x6 ( 48 )
9-14: 48 Sat ( 6 rows )
Insert the eyes on a safe mount between 9 and 10 rows.
15: ( 6 Satn, Ub ) x6 ( 42 )
16: ( 5 Satn, Ub ) x6 ( 36 )
17: ( 4 Satn, Ub ) x6 ( 30 )
18: ( 3 Sat, UB ) x6 ( 24 )
19: ( 2 Sat, UB ) x6 ( 18 )
Stuff quite tightly, the head should be in the correct round shape.
Ears ( 2 details )
1: 8 Sat in KA ( 8 )
2: ( pr ) x8 ( 16 )
3:16 Sat
4: ( 3 Sat, pr ) x4 ( 20 )
Muzzle
We collect a chain of 7 percentage points.
We knit on both sides of the chain, forming a collapse.
1: We begin to knit from the second vp from the hook: 5 Sat, 3 Sat in 1 loop, continue knitting on
to the other side of the chain: 4 Sat, pr ( 14 )
The author advises to start knitting the following rows with an air loop of lifting.
2: pr, 4 sbn, ( pr ) x3, 4 sbn, ( pr ) x2 ( 20 )
3: pr, 5 Satn, ( 1 Sat, pr ) x4, 5 Sat, pr ( 26 )
4: pr, 6 Satn, ( 2 Sat, pr ) x4, 6 Sat, pr ( 32 )
5: 32 Sat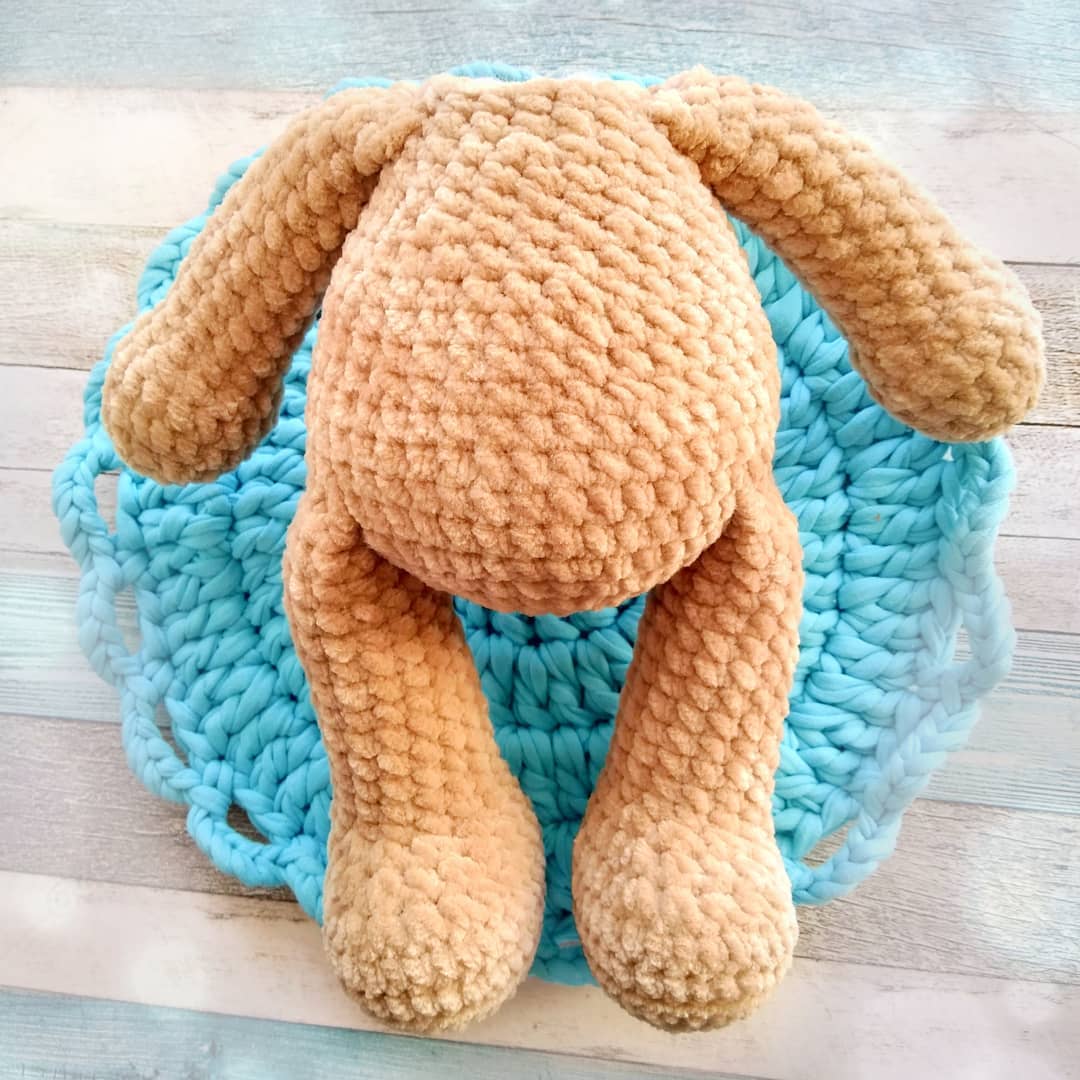
Top legs ( 2 details )
1: 6 Sat in KA ( 6 )
2: ( pr ) x6 ( 12 )
3: ( 5 Satn, pr ) x2 ( 14 )
4: ( 3 Sat, pr ) x3, 2 Sat ( 17 )
5:17 Sat
6: Ub, ( 1 Sat, UB ) x5 ( 11 )
7-11: 11 Sat ( 5 rows )
12: 9 Sat, UB ( 10 )
13-14: 10 Sat ( 2 rows )
15: 8 Satn, UB ( 9 )
16-17: 9 Sat ( 2 rows )
We put the foot in half and tie 5 Sat.
Similarly, knit the second foot.
Lower legs ( 2 details )
We collect a chain of 7 percentage points.
1: We start the row with the second vp from the hook: we tie 5 Sat, in the 6th vp 4 sbn, then we knit
on the other side of the chain 4 Satn, on the last vp 3 Sat ( 16 )
2: pr, 4 sbn, ( pr ) x4, 4 sbn, ( pr ) x3 ( 24 )
3: pr, 1 Satn, 4 Satn, ( pr, 1 Sat ) x4, 4 Satn, ( pr, 1 Satn ) x3 ( 32 )
4: behind the back wall 32 Satn
5: 32 Sat
6: 7 Satn, ( Ub ) x6, 8 Satn, ( Ub ) x2, 1 Sat ( 24 )
7: 6 Satn, ( Ub ) x4, 10 Satn ( 20 )
8: 3 Sat, ( Ub ) x6, 5 Sat ( 14 )
9-13: 14 Sat ( 5 rows )
14: 12 Satn, UB ( 13 )
15: 13 Sat
16: 11 Sat, UB ( 12 )
17-19: 12 Sat ( 3 rows )
Fold in half and tie 6 Sat.
We tie the upper and lower legs in the process of knitting the body.
Body
1: 6 Sat in KA ( 6 )
2: ( pr ) x6 ( 12 )
3: ( 1 Sat, pr ) x6 ( 18 )
4: ( 2 Sat, pr ) x6 ( 24 )
5: ( 3 Sat, pr ) x6 ( 30 )
6: ( 4 Sat, pr ) x6 ( 36 )
7: ( 5 Sat, pr ) x6 ( 42 )
8: 42 Sat
9: 8 Satn, ( 6 Satn with lower foot ), 14 Satn, ( 6 Satn with lower foot ), 8 Satn ( 42 )
10-11: 42 Sat ( 2 rows )
12: ( 5 Satn, Ub ) x6 ( 36 )
13-14: 36 Sat ( 2 rows )
15: ( 4 Satn, Ub ) x6 ( 30 )
16:30 Sat
17: ( 3 Sat, UB ) x6 ( 24 )
18-19: 24 Sat ( 2 rows )
20: ( 2 Sat, UB ) x6 ( 18 )
21: 3 Satn, ( 5 Sat with the top foot ), 4 Satn, ( 5 Satn with the top foot ), 1 Sat ( 18 )
22: 18 Sat
Stuff quite tightly, the body must be in its correct shape.
Tail
1: 6 Sat in KA ( 6 )
2: ( pr ) x6 ( 12 )
3: 12 Sat
Sew a tail to the body
Feel free to tag me (@freeamigurumii) in your photos on Instagram or Facebook if you’d like!
All Finished.


 Ahora haremos las piernas, comenzando con ‘Pata 1’. Rellena las piernas a medida que avanzas. Tenga cuidado de no rellenar demasiado las piernas, ya que esto

 BOTAS – HACER 2


 Para ponerle las botas a su osito, gírelas sobre las piernas hasta que la pierna esté


 PARTE 2 – ARCO


 FINISH
")


 SKIRT (inner layer)
 Go back to round 34, hold the doll body upside down, attach new PINK yarn

 HAIR STRAND (first layer)Continue to crochet the hair strands starting from the last stitch in round 4Stitch 1-16(45CH, turn to 2


 Vi algunos tutoriales geniales en Internet: cómo curvar amigurumi.


 Vuelta 19, girarás aquí después de 13 pb y harás el talónVuelta 28 – coserás el primer pb allí
 28.) 4 pb en el costado, 10 10 en (27) el y 9 pb en la espalda
 Ahora seguirás con el ▫CUERPO ▫
 142.) ( 9pb, diciembre ) * 6 (60)


 Haz medio corazón y cose las orejas Empezar con el 1S tsc del inc en la esquina de la oreja
 COLA ▫
 MEJILLAS ▫-color de la carrocería, haz 2


 Comenzarás a unir las dos piernas Piernas izquierdas
 Vuelta 48: como mencioné anteriormente, tendrás que coser entre las piernas para, donde uniste las piernas.
 Aquí: verá una U o un semicírculo – Aquí: la flecha señala el último punto de la o coser allí vuelta anterior, el último punto


 Head-torso:
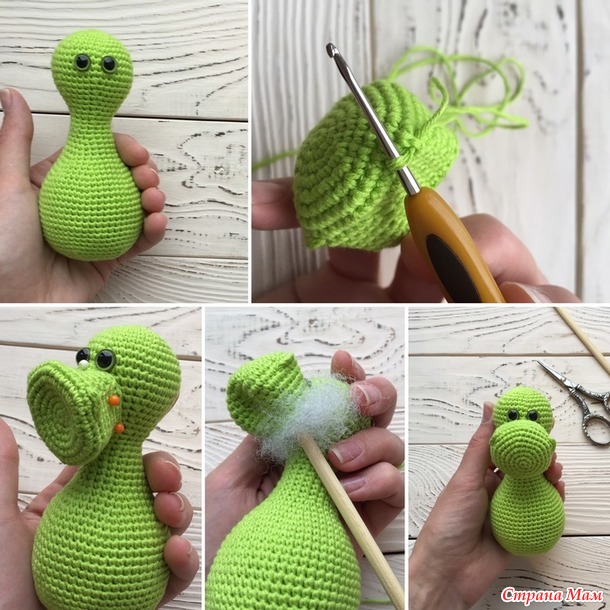 Legs (2 pieces):
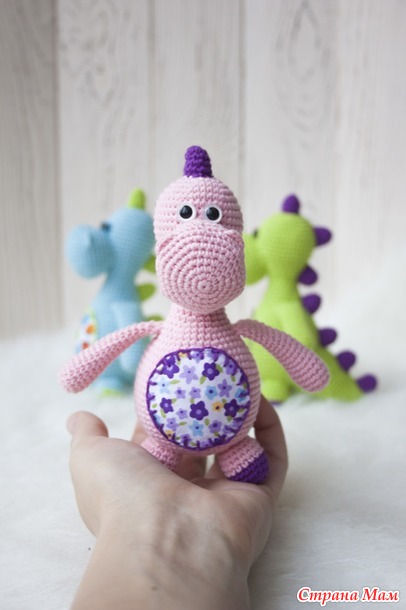
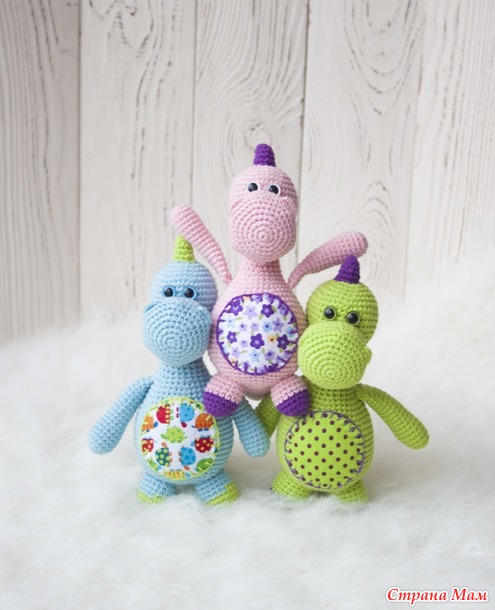
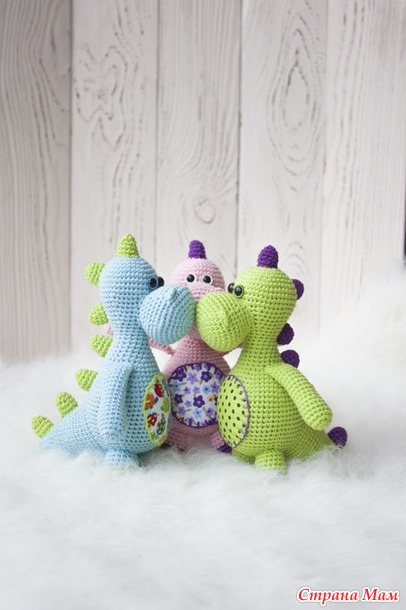
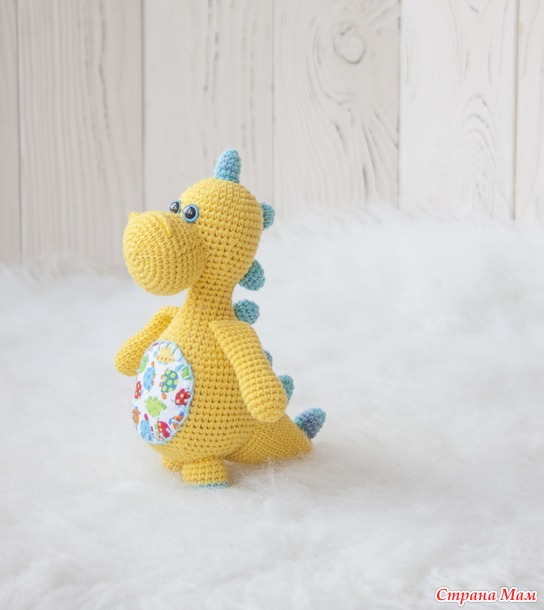
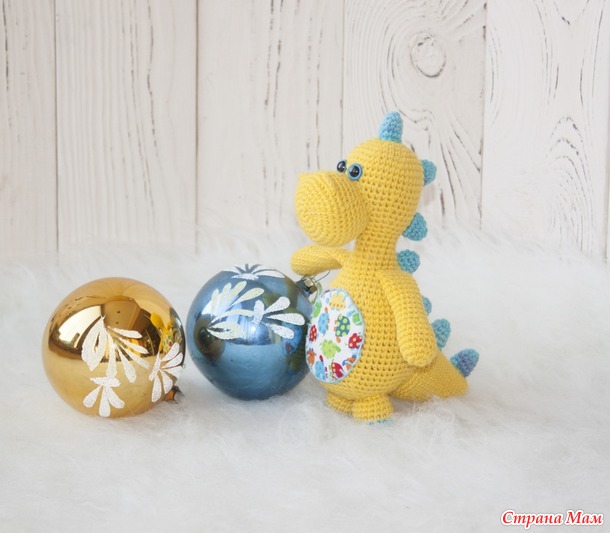
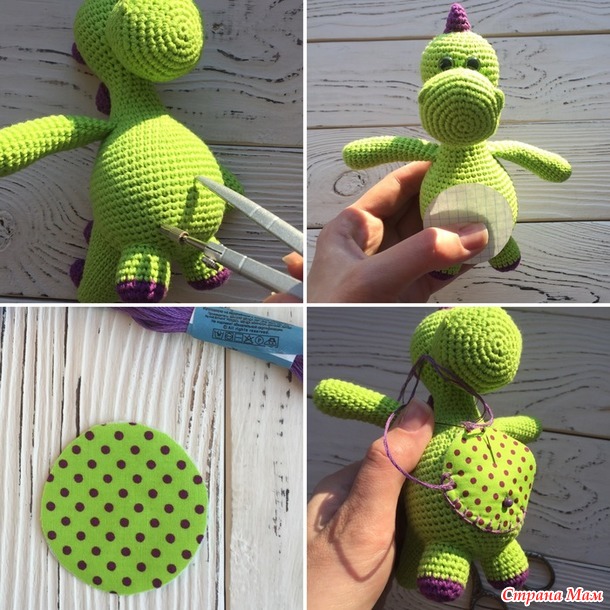
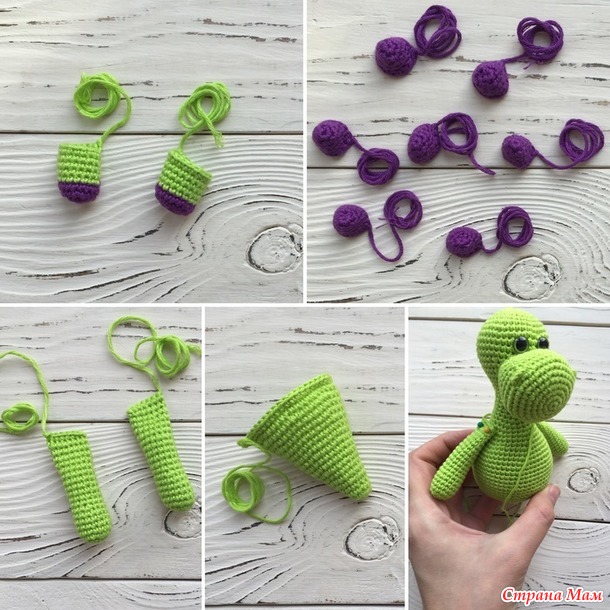 I like the next stage the most, when we select a textile insert for the belly. Of course, I select the colors in advance along with the yarn.
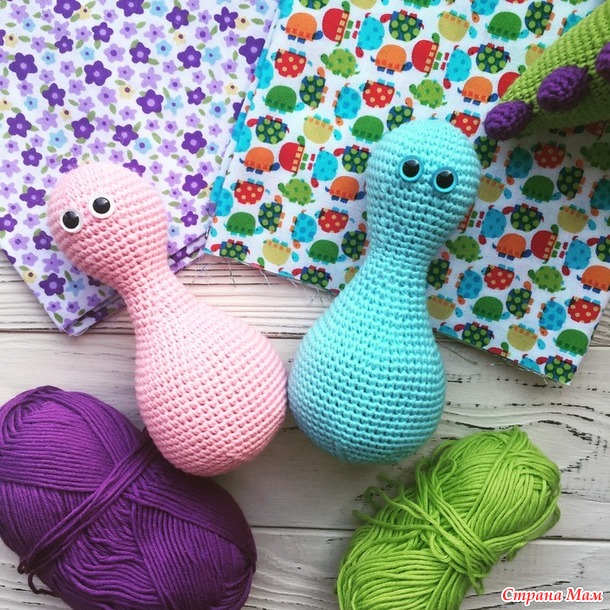


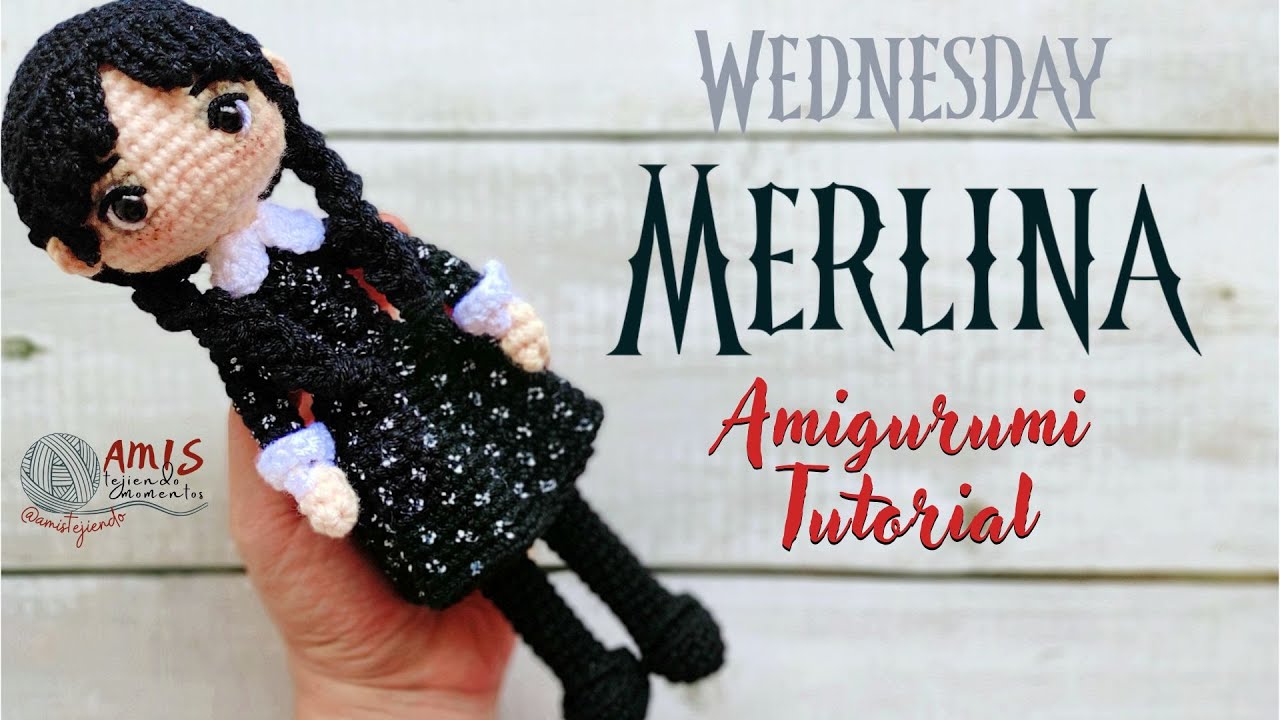

 Finally, let’s go to the video and learn the details of the amigurumi Wednesday recipe.

